MrDoc User Manual
🎊 Basic Concepts
📑 Collection Feature
Document Sorting (Drag & Drop)
Document Watermark
Collection Permissions
Export as PDF / EPUB / Word
Collaboration & Members
Collection Info & Settings
Export Collection
Document Access Log
Pin Collection
Disable Document Copying
Transfer Collection
Collection Sharing
Enable Document Comments
WebHook Delivery
Hide Collection on Homepage
Collection Association Set
Tabs Configuration
Content Table Sorting
📄 Document Features
Subdocument Control
Sort Documents
Set Document Level
Document Sharing
Copy / Move Document
Document Permissions
Document Versions
Document Download
Export Markdown
Export as PDF
Export as Excel
Document Attachments
Transfer Document
Directory Display
Create Shortcut
Insert Video
Document Tags
Auto-Save
🗄️ Asset Management
Upload Size Limit
Allowed Image Formats
Allowed Attachment Formats
Attachment Preview
Transfer Attachments / Images
Image Cleanup
🎯 Import and Export
Desktop Import
Import from Joplin
Import from Evernote
Web Import
CLI Import
🔑 Third-Party Login
DingTalk Login
WeChat Work Auth
LDAP Integration
OIDC Integration
WeChat OAuth
📦 Third-Party Storage
MinIO
Qiniu OSS
Aliyun OSS
AWS S3
🤖AI Integration
Basic Configuration
Dify Integration
📝OnlyOffice Integration
📊 Drawio Integration
⚓ Site Management
Site Info
Homepage Template
Users & Accounts
Tracking Code
Ads / Info Block / Custom Head
Disable Update Check
Search Mode
Image Thumbnails in Docs
Feedback
RSS
Single Tag Settings
Email Sender
Site Data Export
Editor Settings
🧑 Personal Account
Default Editor
User Nickname
Change Password
Bind Third-Party Account
🎈 User Token API
Get User Token
List Collections
Get Collection Catalog
Get Collection Documents
Get Personal Documents
Get Document Content
Create Collection
Create Document
Update Document
Upload Image
Verify Token
🖥️ Client
💻 Desktop
📱 Mobile
🌐 Browser Extension
⌨️Obsidian Plugins
Common Issues Index
Powered by MrDoc Pro
-
+
home
DingTalk Login
MrDoc Professional supports DingTalk "Internal Enterprise Application" scan code login integration. ## 0. Obtain CorpId In the developer backend of the "DingTalk Open Platform," you can find your enterprise's CorpId, as shown in the figure below:  ## 1. Create a DingTalk Application In the DingTalk development platform, click "Application Development" and select "Internal Enterprise Development": 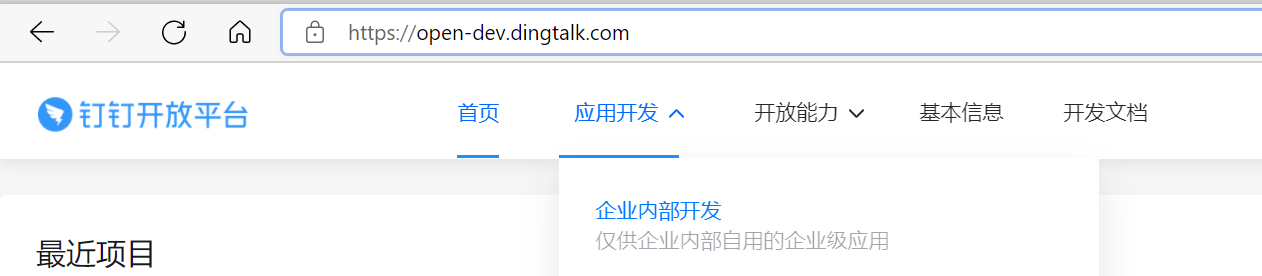 Navigate to the internal enterprise development page and click "Create Application" as shown below: 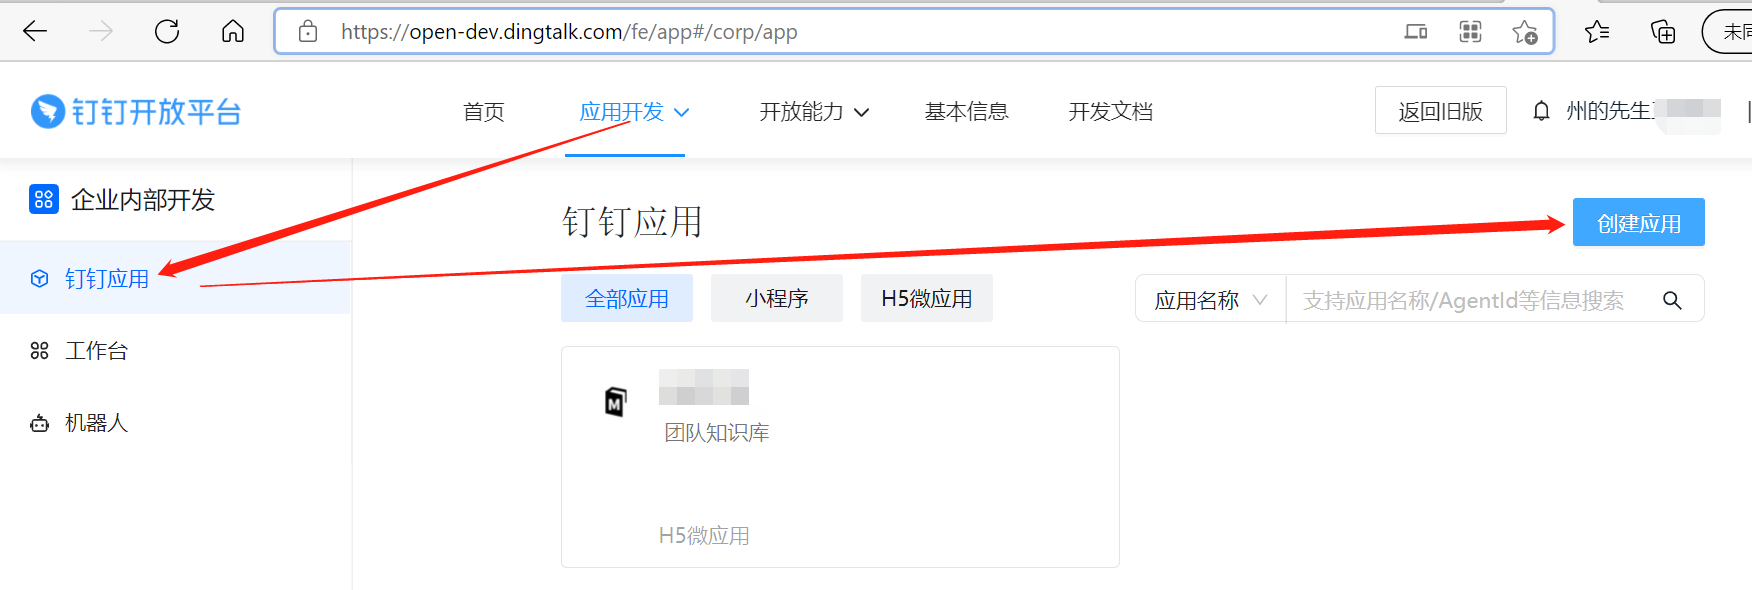 Select "H5 Micro Application" and fill in the application information as required: 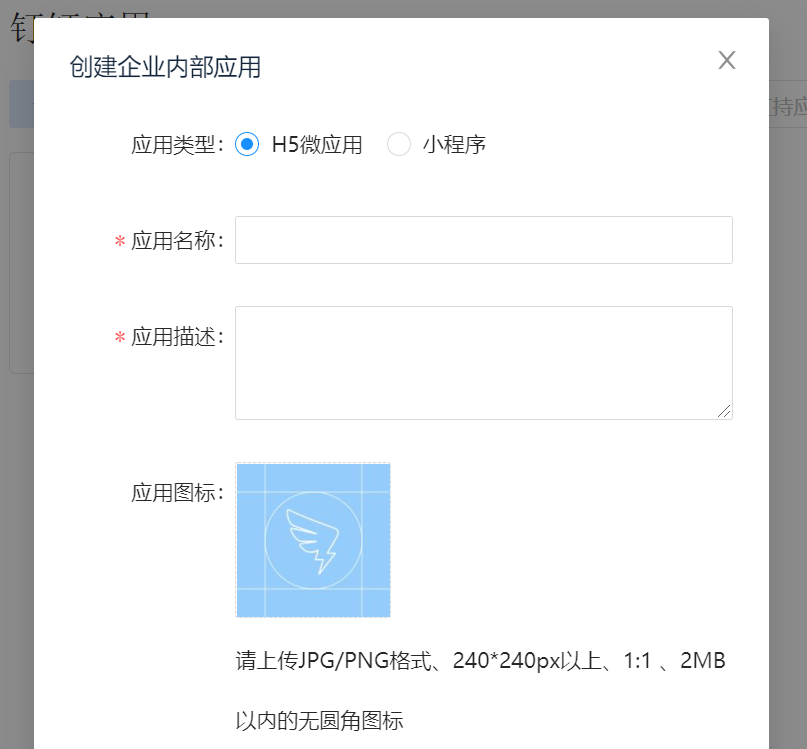 After creation, you will be directed to the application's basic information page, as shown below: 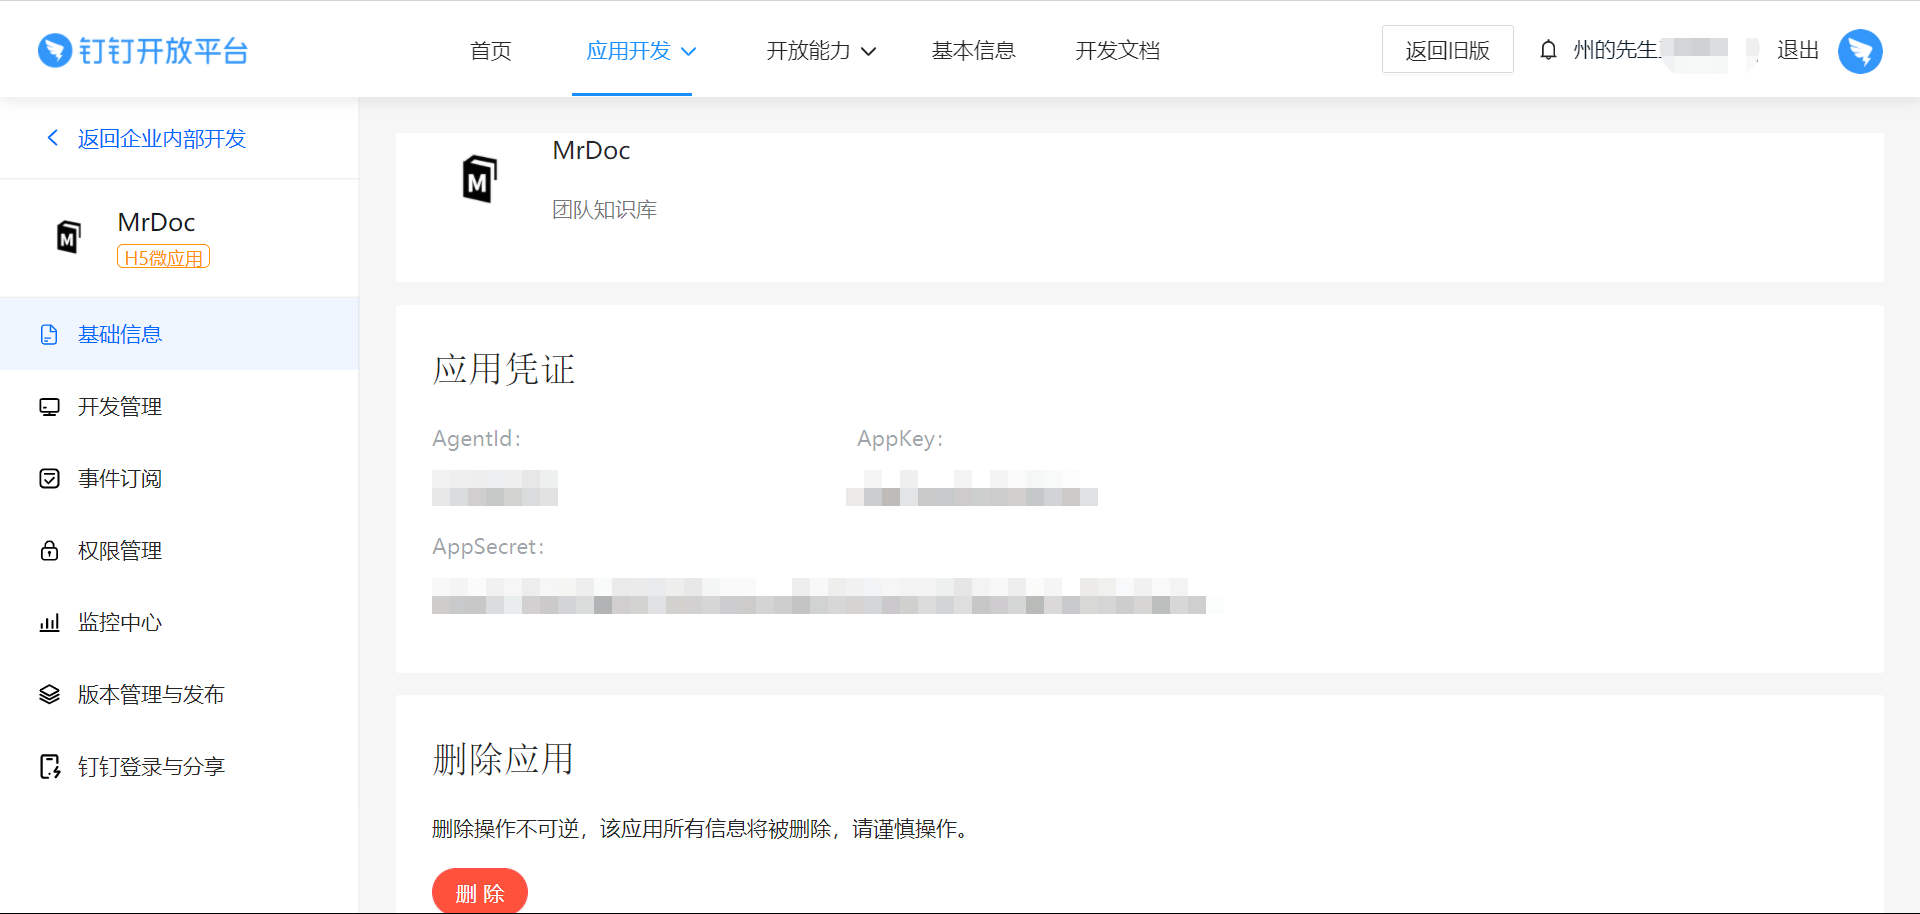 The "AppKey" and "AppSecret" under "Application Credentials" on this page need to be copied for later use. ## 2. Configure the DingTalk Application As stated by the DingTalk development platform: Before development, you need to configure the server exit IP, application homepage, etc., in the developer backend. For newly created DingTalk applications, you must configure the server exit IP, application homepage, and other information on the "Development Management" page. 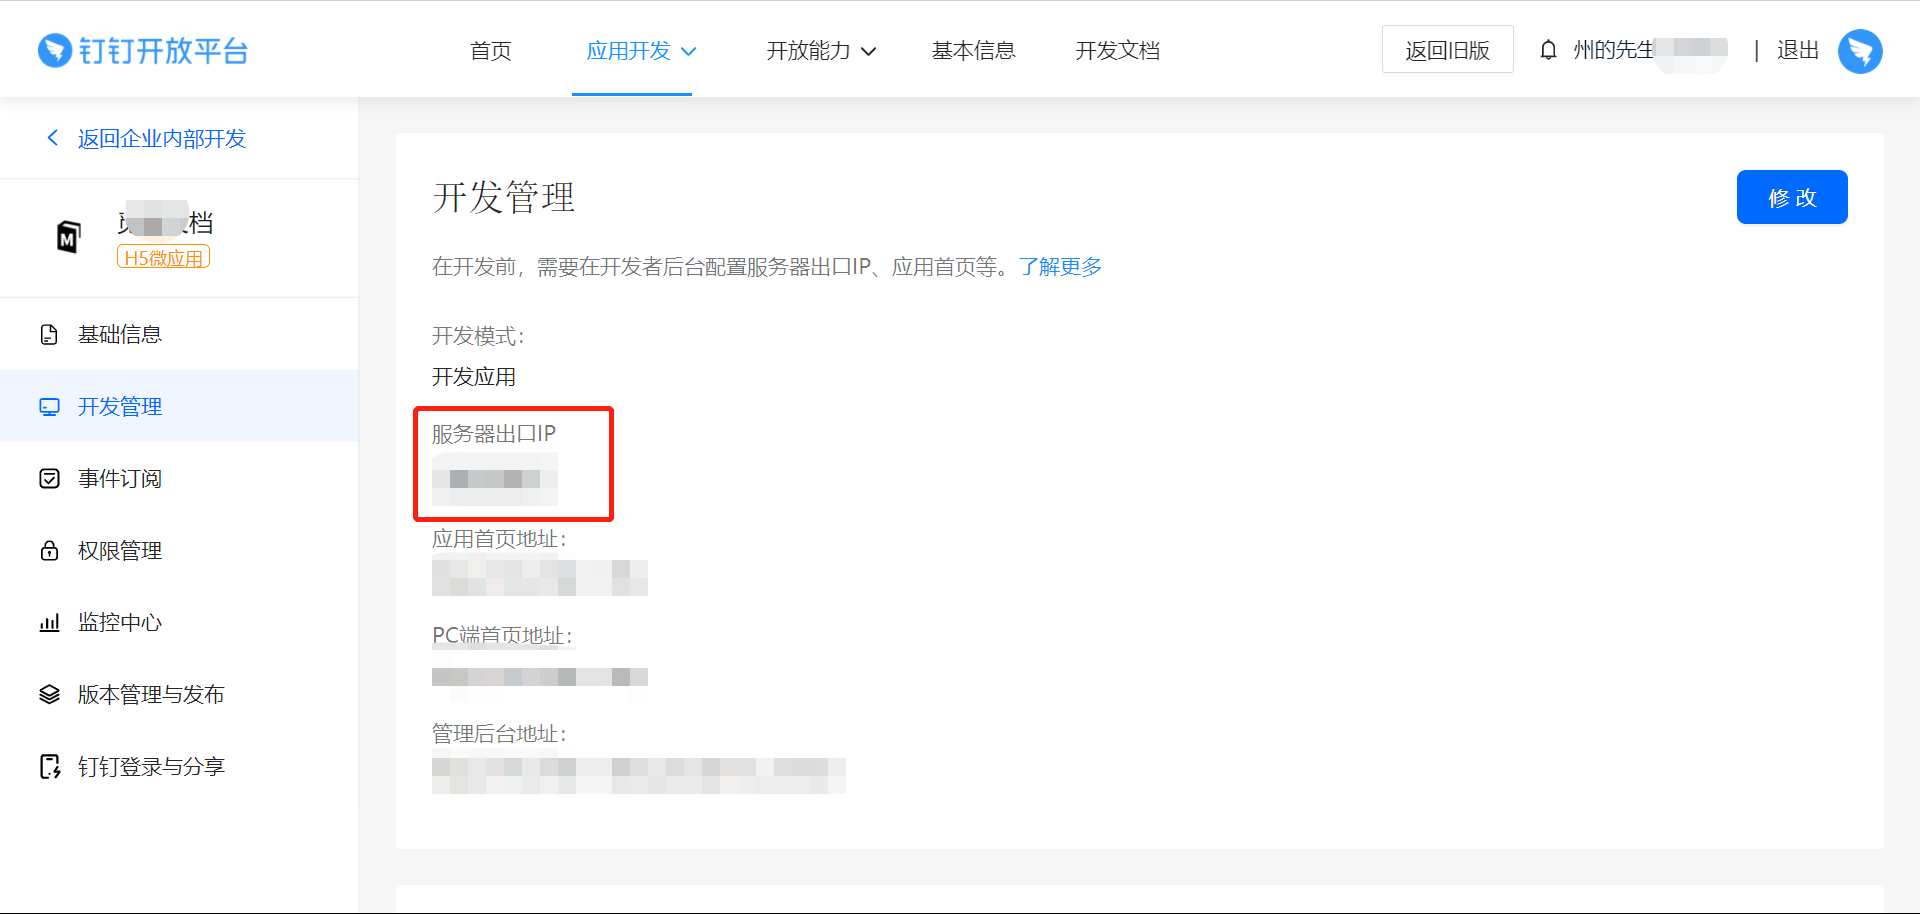 > The server exit IP must be configured as the IP of the server where MrDoc Professional is deployed. > The application homepage is the URL of the deployed MrDoc homepage. ## 3. Configure Callback URL On the "DingTalk Login & Share" page, enter `your domain or IP/oauth/dingtalk_callback/`, for example: ``` https://doc.mrdoc.pro/oauth/dingtalk_callback/ ``` 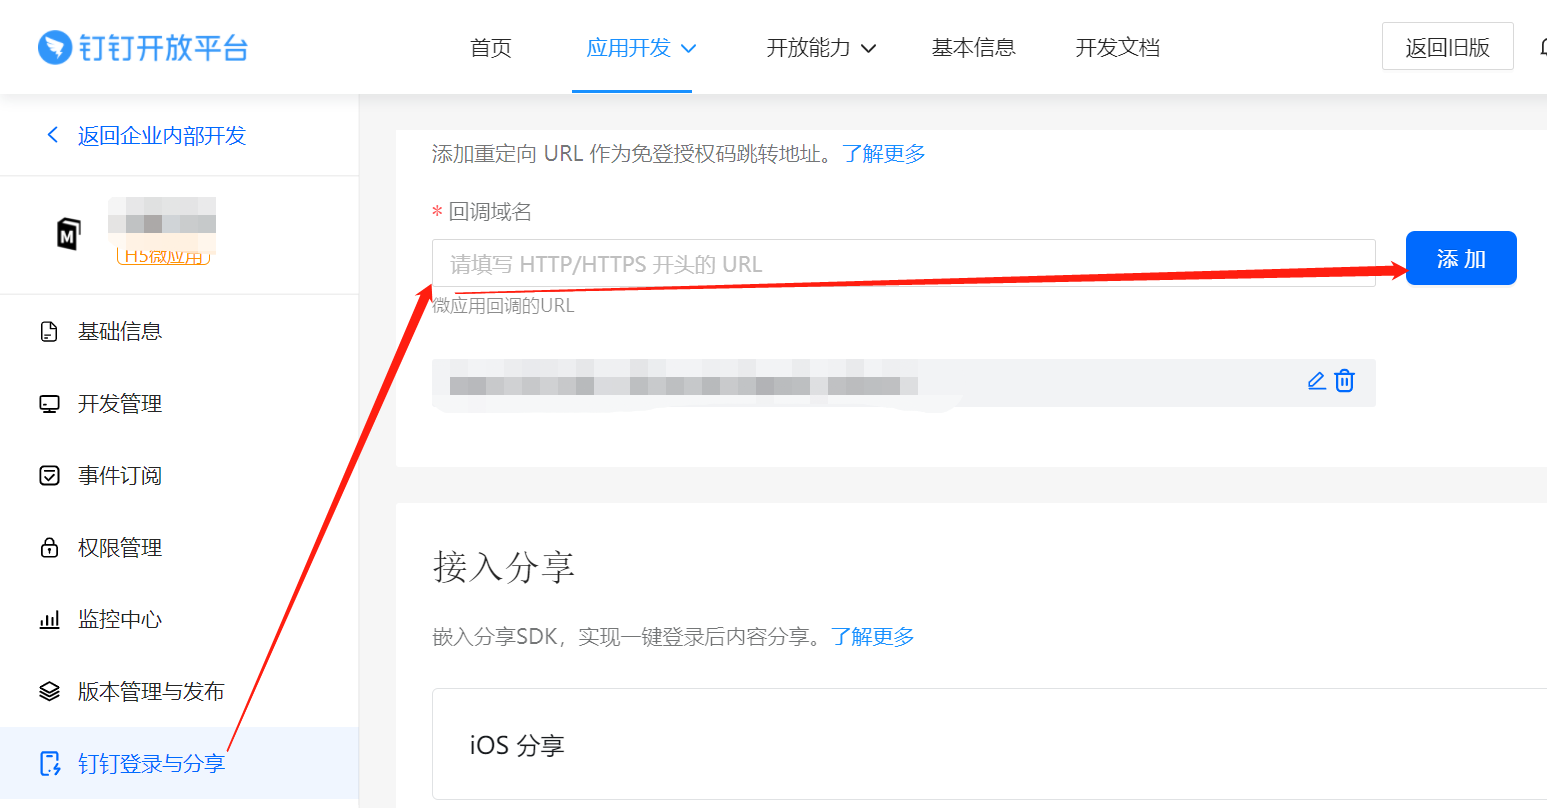 ## 4. Enable DingTalk Application Permissions Since MrDoc Professional's integration with DingTalk scan code login requires reading certain user information to complete user authentication, authorization, and login, you need to assign specific permissions to the created DingTalk application. Click the "Permission Management" menu on the left to navigate to the "Permission Management" page: 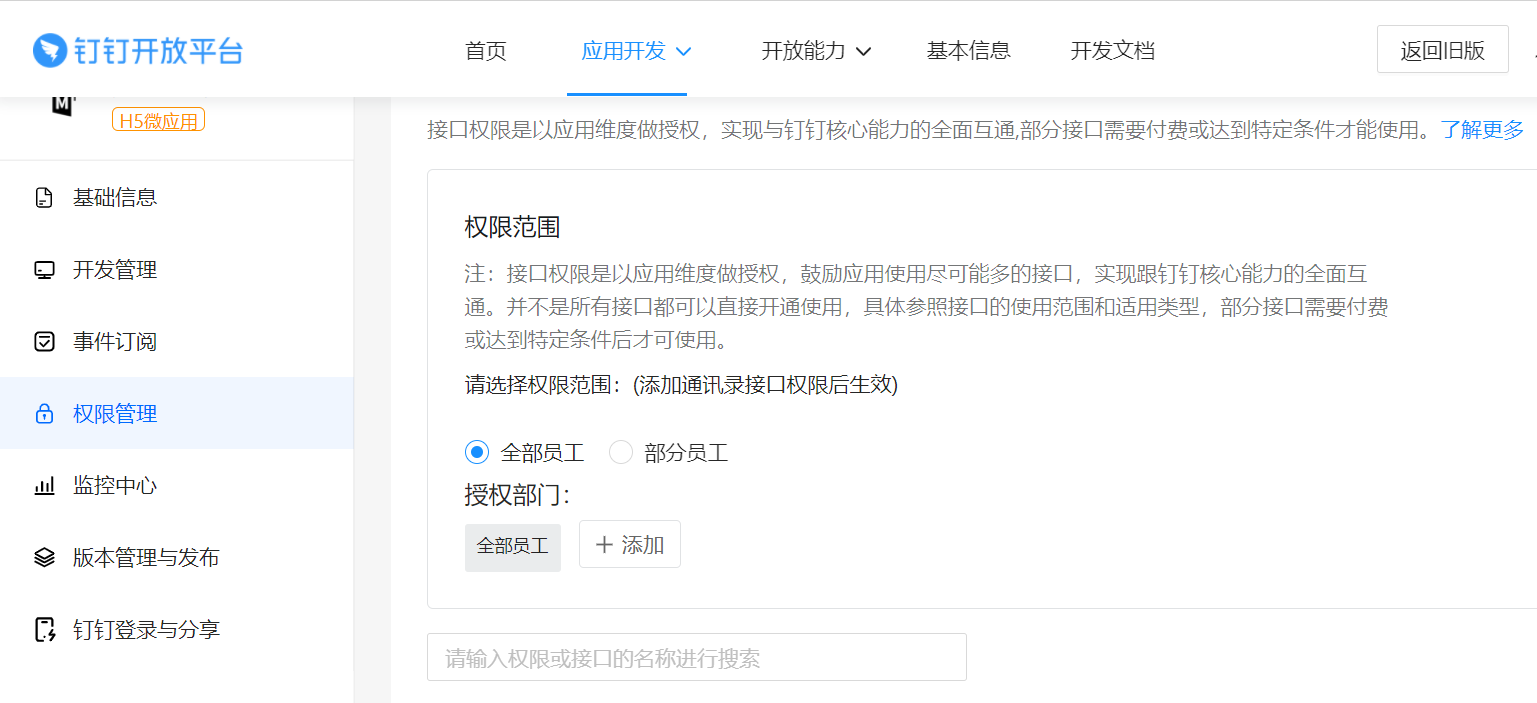 Enable the following three permissions: - Member information read permission; - Permission required for calling OpenApp-specific APIs; - Basic permission for calling enterprise APIs (enabled by default); 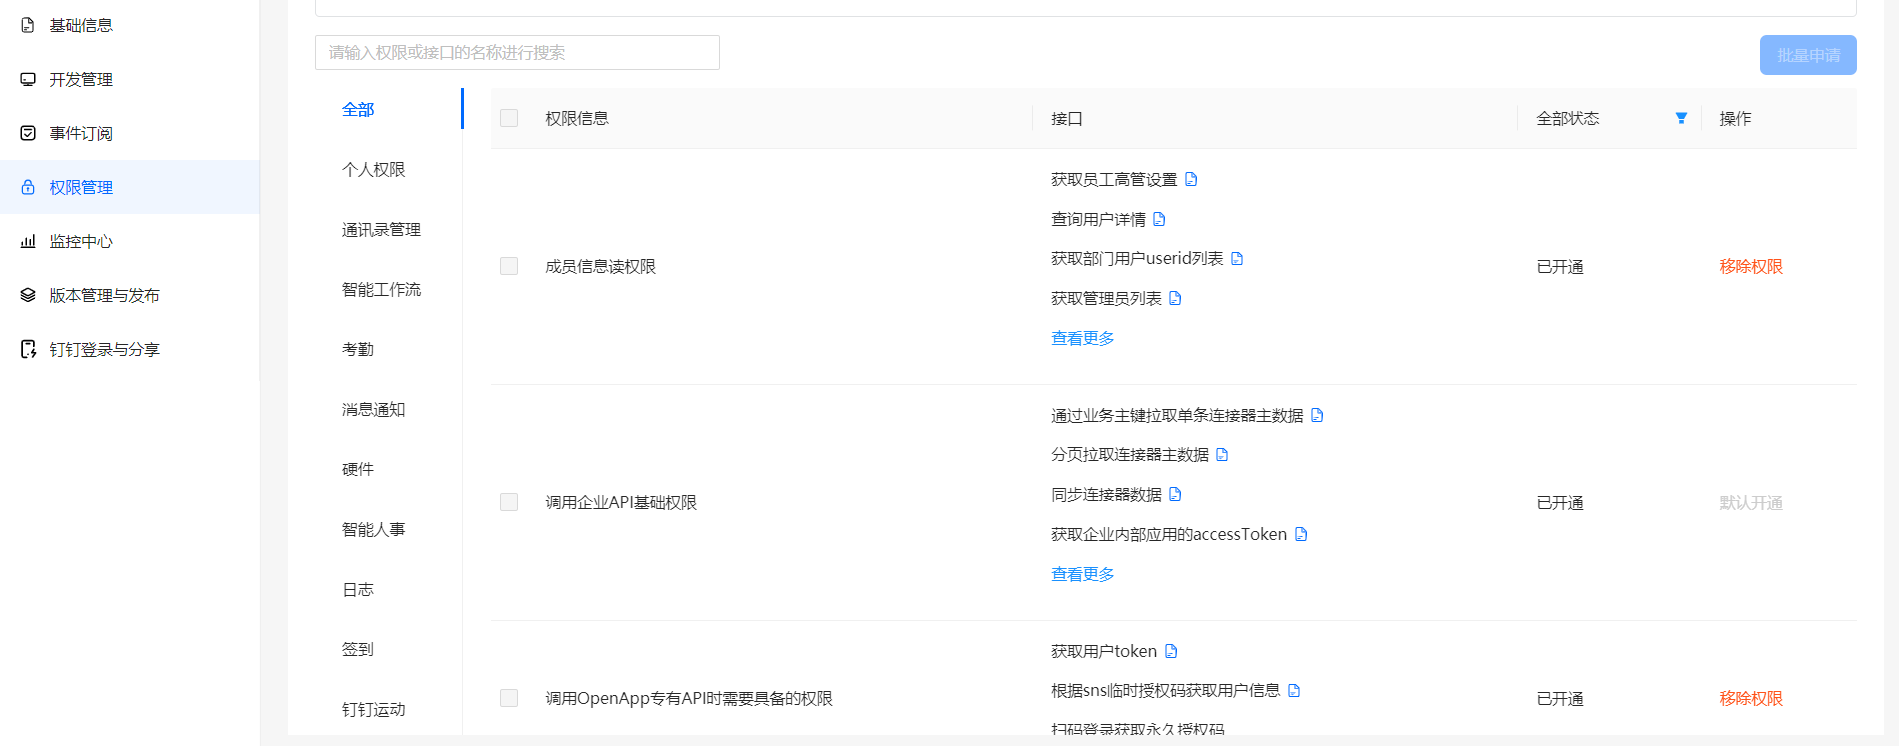 ## 5. Configure MrDoc Log in to MrDoc Professional as an administrator and navigate to the "Third-Party Login" page under "Site Management": 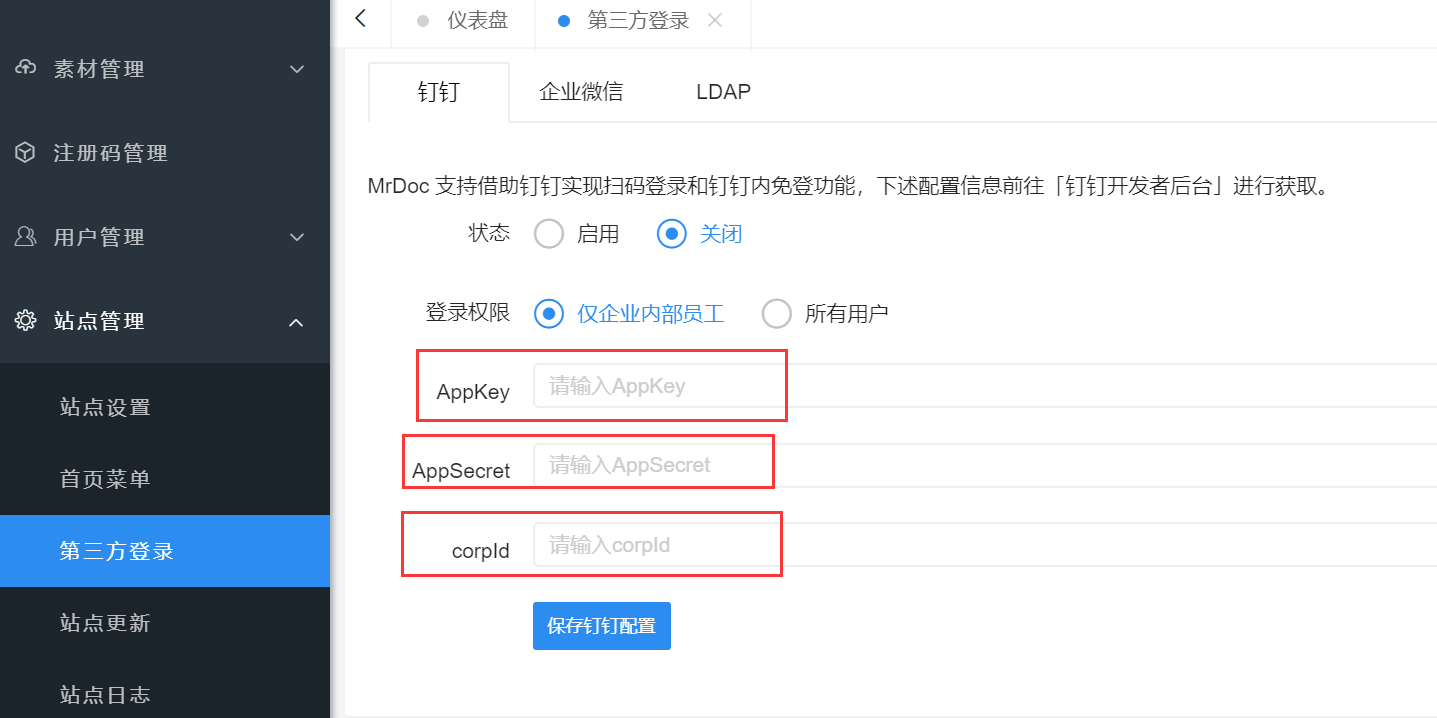 In the "DingTalk" tab, select "Enable," and fill in the "AppKey," "AppSecret," and "corpId" of the DingTalk application into the corresponding form fields. Finally, click "Save" to complete the configuration of DingTalk scan code login for MrDoc Professional. ## 6. Login ### 6.1. Scan Code Login After enabling DingTalk scan code login, the DingTalk icon will appear on the login page of MrDoc Professional. 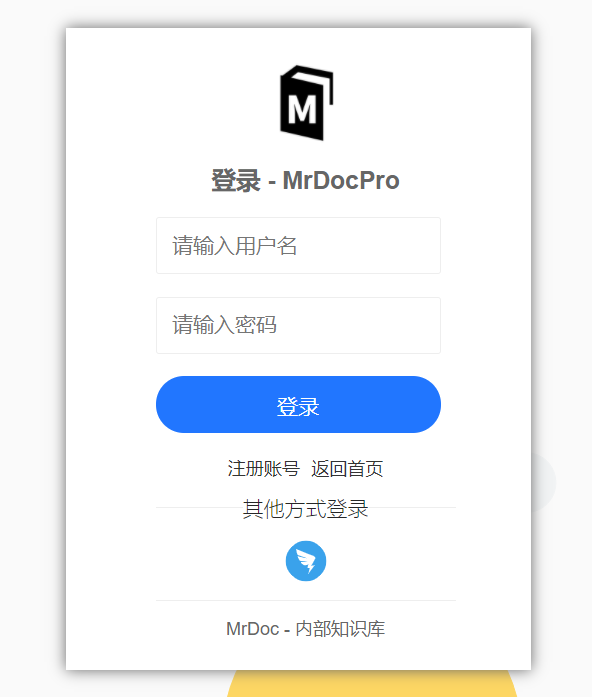 Click the DingTalk icon to redirect to the DingTalk scan code interface. After scanning the QR code with your phone and confirming the login, verification will be completed. ### 6.2. Seamless Login Within DingTalk If you access the newly created application through the DingTalk PC or mobile workbench, seamless authentication with MrDoc will be achieved: 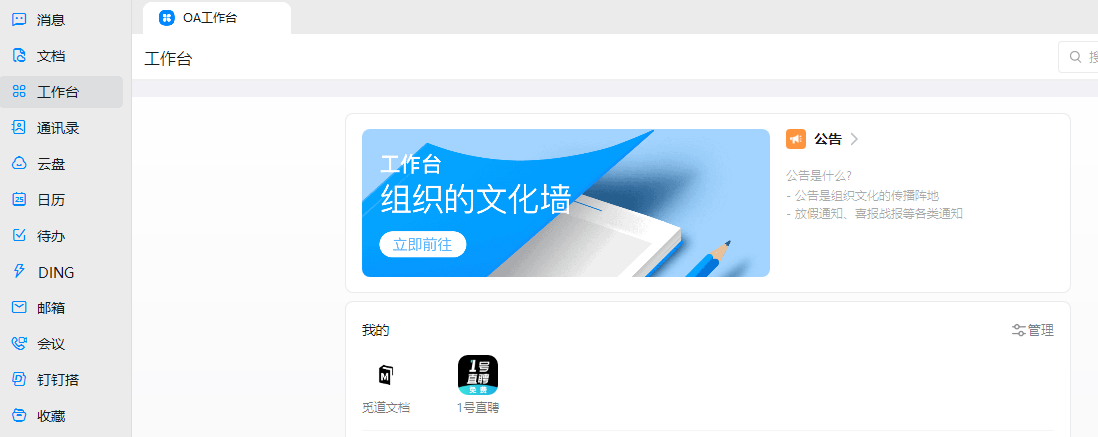
mrdoc
Nov. 18, 2025, 4:15 p.m.
Forward
Favorites
Last
Next
Scan the QR Code
Copy link
Scan the QR code to share.
Copy link
Markdown file
Word document
PDF document
PDF document (print)
share
link
type
password
Update password
Validity period